A year in the bee garden – February

In the short month of February there is little activity in the bee garden, but there is a lot to observe. Which early bulbs have emerged – the snowdrops and crocuses planted in the shade beside the ivy or those planted in the lawn? Which plants are already springing up new shoots – the crocosmia or daffodils? These seasonal observations tell me which type of flowers grow well in the soil and which conditions of light, shade and shelter suit them best. Year after year, I can invest more time in the flowers that thrive in the bee garden and in the bees who visit them.

Planting a bee garden – or a pollinator or wildlife garden – is very exciting and there are many ‘plants for bees’ lists that publish at this time of year to give you plenty of ideas. However, planting any garden that successfully blooms and attracts a wide variety of insects and other wildlife is not as easy as it sounds. There are important observations that need to be made.

1. What is the soil like?

When you pick up a handful of soil and squeeze it, is the texture clumpy and sticky (perhaps like clay) or looser and gravelly (perhaps like sand)? When it rains, does the soil drain slowly or quickly? When it is dry, does the soil harden and crack or retain its moisture?

You don’t need to become an expert in soil types, or rush out to get a pH kit to test the acidity or alkalinity of your soil (although you can if you want to), but a few simple observations like these will give you a better idea of what types of plants will grow best in your garden. You’ll know, for example, when you read the plant label or seed packet whether your soil can provide suitable conditions or not. February is often a good month to make these observations as the weather can change from mild and wet to cold and dry from one week to the next.

If you suspect that you have heavy, clay soil that drains poorly, then this doesn’t mean that you can’t grow a bee-pleaser like lavender which prefers lighter, well-draining soil. It just means that you may have to dig over the bed with plenty of multi-purpose garden compost or some horticultural sand, and/or add this to the hole in which it is planted [*See edit below]. Alternatively, plant the lavender in a raised bed (such as building a new bed at ground level and filling it with more suitable soil), a container or a large pot.

Remember to observe the soil in different parts of your garden, because there may be some variation.

*Lindylou adds a useful comment below on taking care not to remove the fertility of clay soil by adding amendments. This includes adding coconut coir or cardboard to heavy clay soil rather than sand, which may produce cement. She says both coconut coir or cardboard “allow airpockets to develop by enticing garden earthworms which love to eat both products”. In addition, she also uses lava grit “to take up the water that will not sink during winter time”.

Like all things, learning how to garden is as much about trial and error. My lavender grew poorly the first year when I planted it in the clay soil of our garden. It also didn’t have enough sun. So I moved it to the back of the garden and mixed the soil with garden compost (and a very small amount of builders’, not horticultural, sand!) and it seems to have perked up! I will try cardboard next time as I have plenty of that at home.

2. How much sun and shade do you have?

The middle part of our garden is long and narrow with an ivy hedge to the right and bushes of cotoneaster, jasmine and choisya to the left. I’ve resigned myself to the fact that few flowers will grow in the shady, walled bed beside the ivy where even foxgloves and bluebells struggle. This part of the garden has become a haven for frogs and thirsty birds and insects with a selection of frog ponds and shallow baths. I’ve also half buried broken flower pots and crockery in the soil to make shelters for weary creatures to rest. The decking at the front of the garden has a flowerbed that sticks out further, and in spring and summer it gets enough sunlight in the morning to sustain the myrtle tree with flowers and berries. The back of the garden is very exposed – a suntrap for sun-loving plants like toadflax, Mediterranean herbs, and, of course, sunflowers.

Observing how sun and shade fall across your garden from season to season and at different times of the day can help to plan where to plant. For instance, there’s no point in planting a row of sedum along a sunny fence in early spring only to later find out in autumn, when sedum flowers, that it gets very little sunshine.

It’s also a good idea to notice which parts of the garden get shelter from wind and rain – useful if you’re planning on planting tall plants like sunflowers or buddleias, which may benefit from some shelter, as well as plenty of sun, on a very windy day.

3. Who visits your garden?

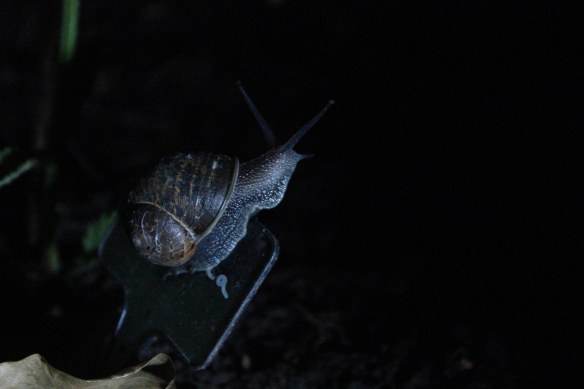
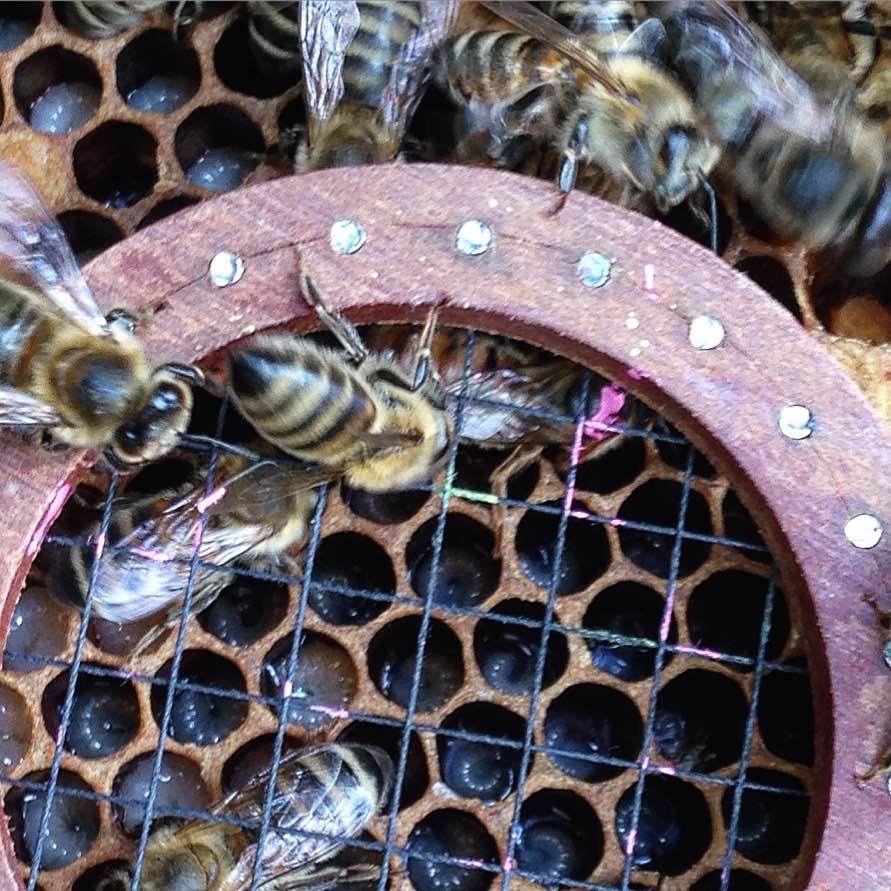
It’s not all about the bees. Our garden enjoys a variety of insect visitors including hoverflies, butterflies, lacewings, solitary wasps, ants and spiders (ok, arachnids too). There are many different bees who visit from honeybees and bumbles to leafcutters and masons. We’ve even had the occasional dragonfly, although they don’t seem to lay their larvae in the pond and are probably prowling for bees to eat. Observing which insects are already in your area can help you to choose the flowers that attract them.

For example, our toadflax caters for the carder bees from early summer to late autumn. The honeybees and bumbles are satisfied by the smoke tree in spring, salvia and lemonbalm in summer, and snowberry and sedum in autumn. The sweat bees are kept happy by leaving the yellow thistles to flower in spring. However, I rarely see leafcutters or masons foraging in the garden, although they use our nesting tubes. Perhaps I need to plant up more areas for these solitary bees and leave more dandelions for the masons.

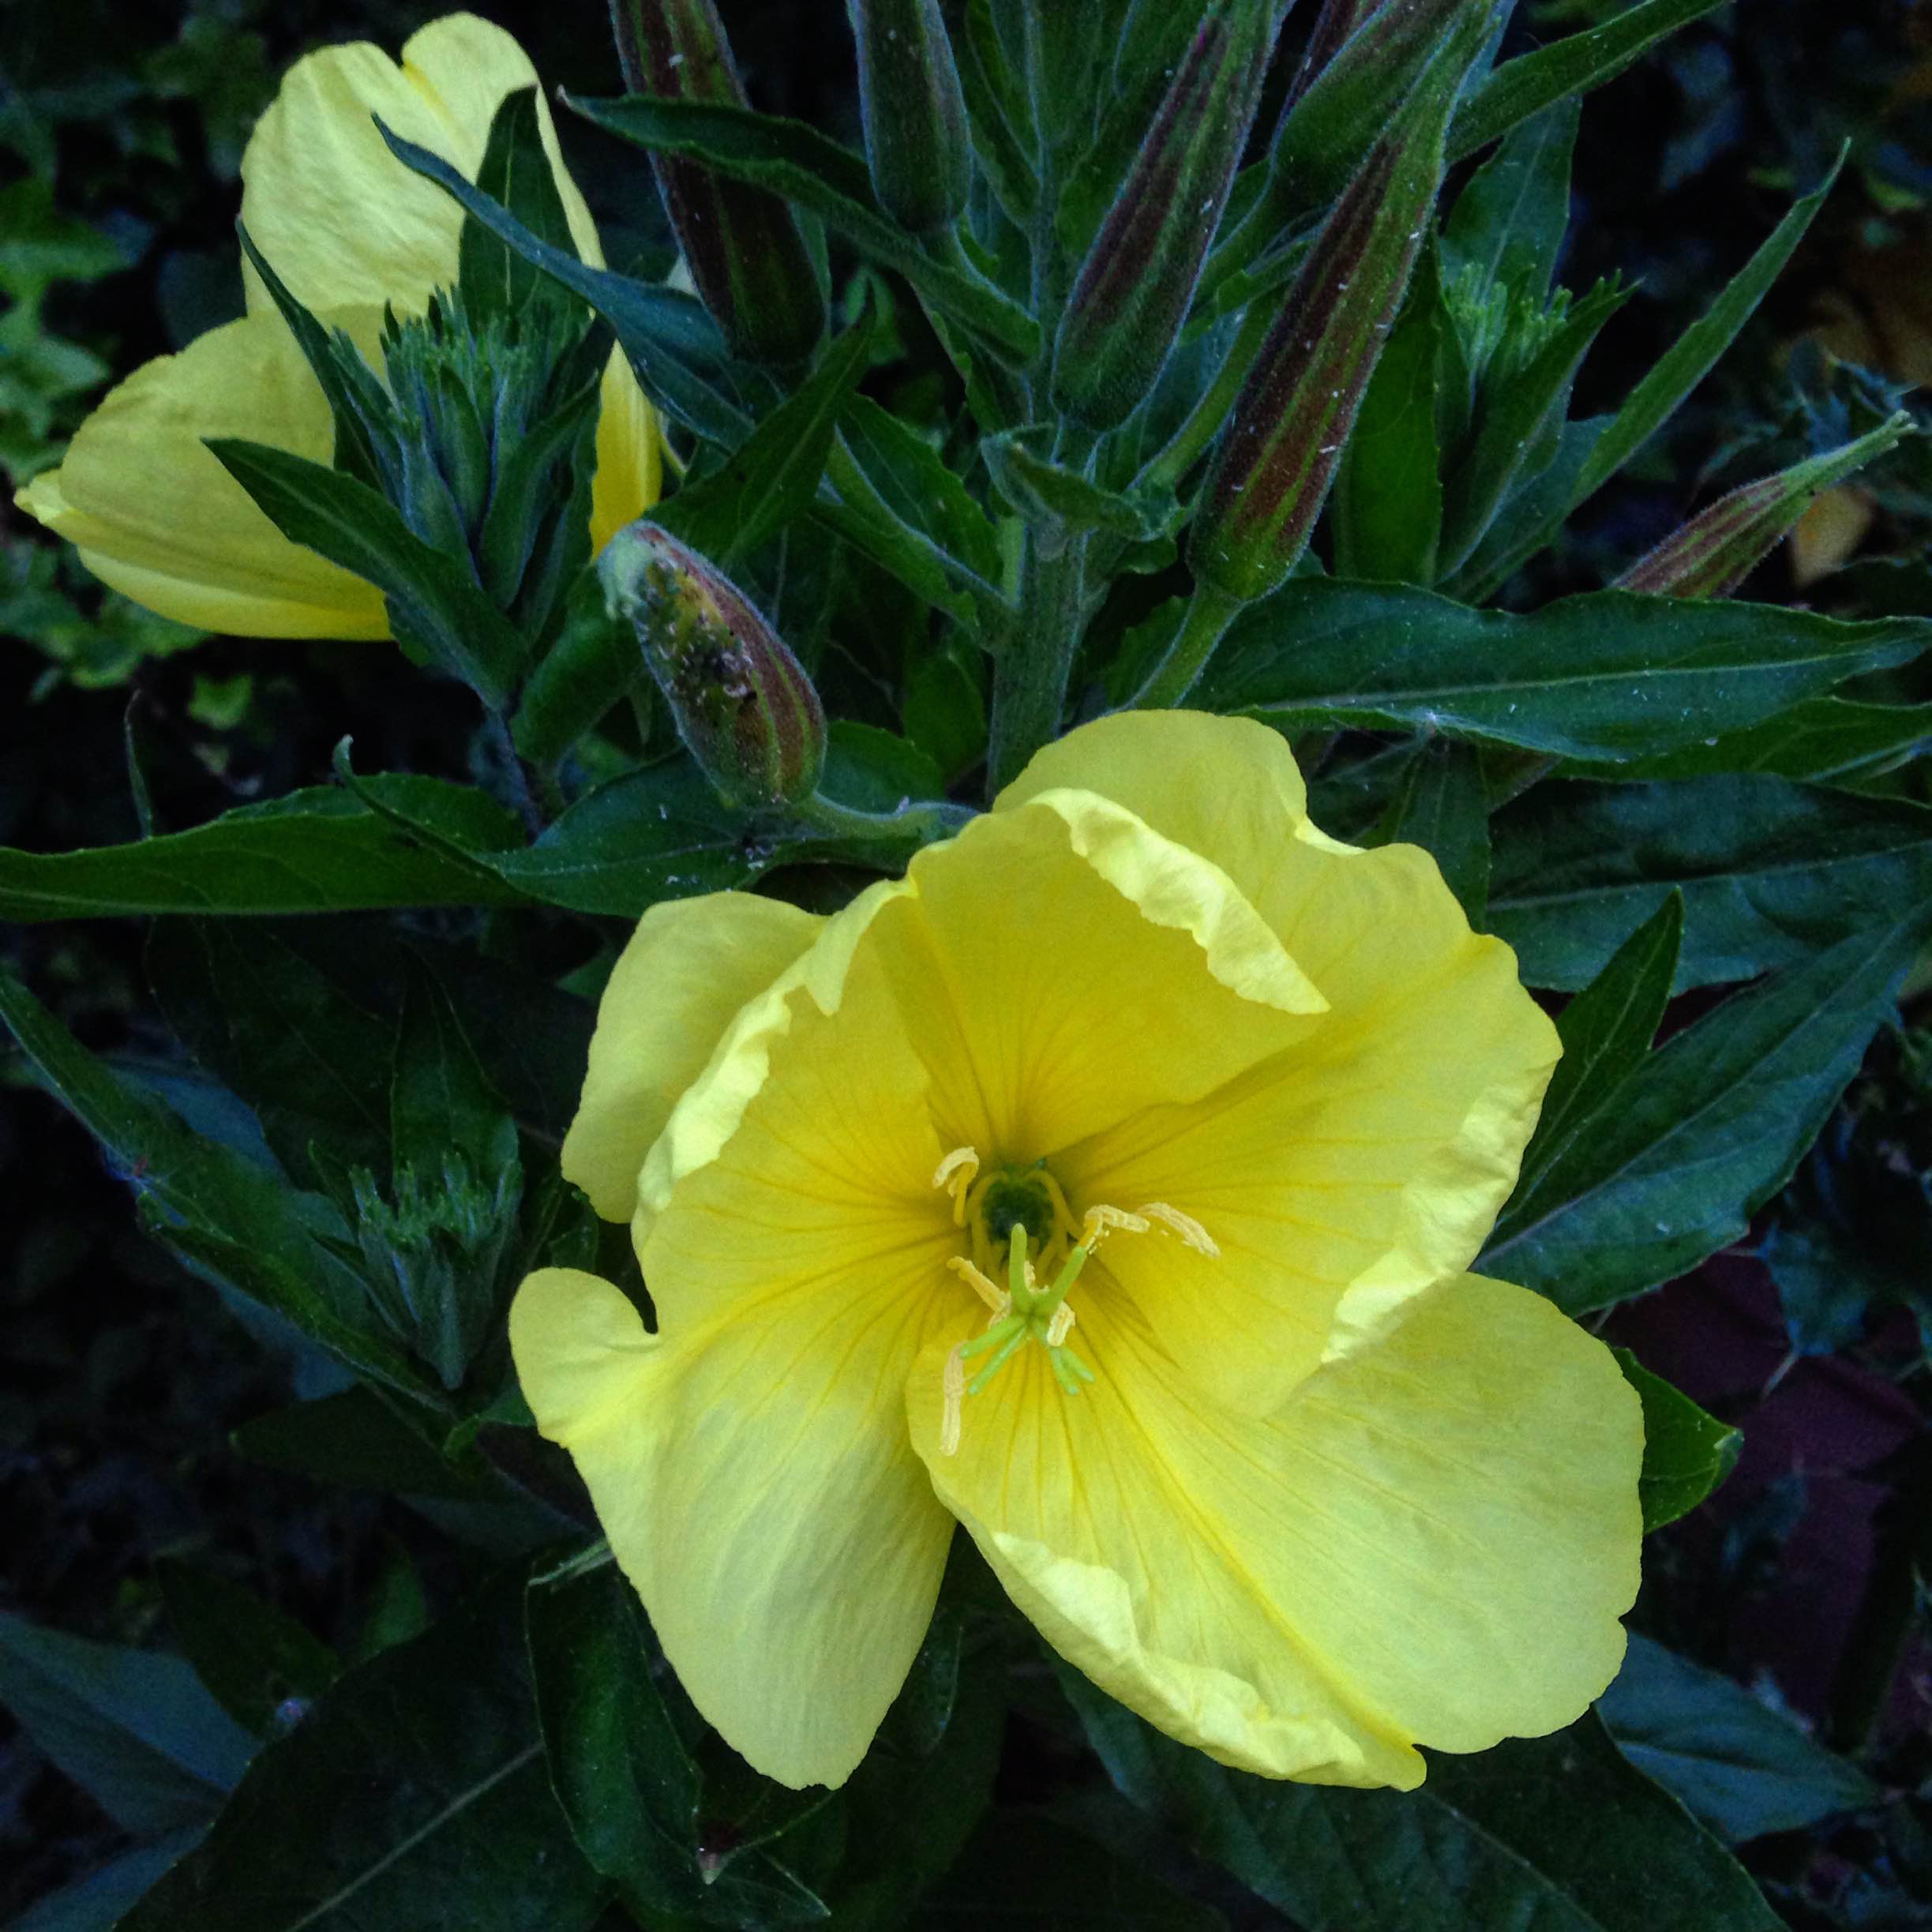
4. What is flowering in your area?

A walk around your local area to see which plants are growing in your neighbours’ gardens can be a good indicator of what will grow well in your garden. Year after year in winter, yellow primroses pop up in front gardens along our street and winter-flowering hebes produce rich purple-red blooms. There are so many that I suspect the birds and squirrels have been very busy gardening, although many humans are good gardeners too.

5. How much time do you have to spend in your garden?

This is the most important observation of all. Before you begin planting a bee garden, consider how much time you actually have for weeding, pruning, mowing, watering, and transplanting throughout the year. If you don’t have much time, then read up on hardy plants and shrubs that are easy to care for. Do you want to grow annuals (that you may have to re-seed or re-plant each year, although some do successfully re-seed themselves) or invest in perennials (that are more likely to return and flower each year).

You might also want to consider the type of flower beds that will require the least attention – mulched beds (where a layer of gravel, bark, leaves or compost is laid above the soil) allow the stems of established plants to continue to grow but slows down the growth of weeds. Otherwise, container gardening may be more manageable if you’re just starting out or have a small garden, although containers and pots needs more watering than plants that are in the ground.

Once you’ve got to know your garden, choose some bee-friendly flowers to plant from these lists. Don’t forget the birds either – they’ll appreciate plants that berry and seed for autumn and winter.

Plants for bees and other pollinators

The RHS Perfect for pollinators provides a very comprehensive lists of plants.

The International Bee Research Association (IBRA) also has a good book Plants for Bees by W D J Kirk & F N Howes.

Use the Bumblebee Conservation Trust online tool to find out how bee-kind is your garden.

Buglife also provide a good guide to gardening with bugs in mind.

[EDIT] philipstrange also suggests this list of bee-friendly plants on Dave Goulson’s web site: http://www.sussex.ac.uk/lifesci/goulsonlab/resources/flowers and singles out pulmonaria “as a must for bee enthusiasts as it attracts the very early Hairy-footed flower bee”.

Consider where to buy or source your plant. Perhaps a friendly neighbour will let you take a few cuttings from their garden to get you started, or you may already have bee-friendly plants in your garden that just need propagating and spreading. Otherwise, order online from nurseries like Bee Happy Plants who don’t use pesticides and herbicides.

The RHS guide to soil types is helpful for getting to know your garden and the plants that will grow best.

Advertisement

A year in the bee garden – November

A few lingering butterflies rested their wings on the ivy flowers in November, but they were too fleeting to catch with my camera.

November is a good month to plan next year’s garden by taking note of which plants have thrived best in which parts of the garden, and which have attracted the most insect visitors.

My bee garden calendar is slowly coming together, starting with spring flowers and spring-flowering shrubs (snowdrops, crocuses, bluebells, cotoneaster, hebe, smoke tree), long-lasting summer flowers (salvia, scabiosa, toadflax) and late summer to autumn blooms (snowberry, sedum). All of these plants seem to grow well in our heavy clay soil.

November is also a month of surprises.

Our fatsia has flowered for the first time to the delight of honeybees, bumble bees, hoverflies, and to me.

The mornings are getting frosty. Even the frogs are no longer bothering to pop up and watch John when he is gardening.

Soon the bee garden will sleep for winter.

Life in the garden

The selfish ivy had taken everything out of the soil for itself. As I dug up the echinacea, verbena and thyme to replant in pots, I realised that few but the most stubborn plants would grow in this unfriendly earth. Further along the walled bed, two small trees had littered the soil with fallen leaves and not even the Japanese anemone nor the lemon balm would venture any further into the shade.

Then I had an idea. Bees, butterflies and other garden visitors need water as well as food. If I couldn’t grow any flowers for wildlife to eat, then I would give it a place to drink instead.

A cinnabar moth resting on a cool leaf. Non-flowering foliage is as important as the flowers in the garden, because it provides a place for wildlife to hide, shelter and rest.

A quick search around the house and garden and I found everything that I needed to create two mini-wildlife ponds.

Tip: The garden is a great place to find new uses for old things. I also feel that we rely too much on recycling. The next time you think about buying garden accessories have a look around the home or second-hand shops first. A bucket with a broken handle could make a frog pond, a cracked flower pot for a toad house, chipped cups for bird feeders and old serving forks and spoons can be used as stakes for plants.

An empty plastic container and a stained washing-up bowl – both in the queue for a trip to Harefield’s recycling skip – were just the right sizes for my mini ponds. I dug a hole in the earth for each and buried the bowls up to the rims to make it easy for hedgehogs to stop by and dip in for a drink.

The ivy is home to many creatures in our garden, including spiders who usually walk out on their webs when I disturb them doing the gardening.

Next, I poured gravel into the bottom and made a pile of stone ‘steps’ for frogs, toads or newts to climb in and out. Larger stones and broken paving slabs surrounded the edges. That done, I filled up the ponds with tap water – and some dechlorinator (it hasn’t rained enough lately to collect rainwater in buckets) – and added duckweed and hornwort from the larger fish and frog ponds.

Tip: Duckweed and hornwort can quickly grow and become a nuisance. I find it easy to manage by removing a handful now and then as compost for the garden or to put into the bird bath and rain buckets. The plants seem to keep the still water clear and to deter mosquito larvae as well.

Finally, a few pieces of crockery filled with pebbles made watering holes for thirsty insects. Here are the results:

It wasn’t long before the frogs, and the snails, found the new garden ponds.

A walk in the garden at night revealed that a lot of wildlife comes out after the dark like this trail of snails climbing over the plant labels to the pond.

Although some still prefer our more established frog pond.

We have a lot of slugs in the garden too, but, as you might guess, we don’t use slug-and-snail pellets. Any slugs that I find on the Japanese anemone, which is their favourite thing, are put on the compost bins where they can eat to their hearts’ content.

The mini-wildlife ponds are also the perfect place for baby snails but overall life in the garden sorts itself out, and the frogs seem to keep the slug and snail population in balance.

As you might imagine, our garden is also pesticide-free and weedkiller-free. In fact, I was once told by a gardener, when asking about how to control the bamboo and bindweed last year, that the bees don’t mind Roundup. I didn’t believe him and I’m glad to say that we found another gardener willing to dig out the bamboo (an expert job because its roots were entwined around the roots of the smoke tree) rather than poison it. Meanwhile, John and I weeded out the bindweed and covered the area using garden sheeting and gravel.

We’ll never be rid of either (bindweed seeds, for example, can live in the soil for many years), but we manage both quite well by physical methods – digging, hoeing and weeding.

The old bamboo grove is now used as a bird-feeding station. Here, the birds can feast on fat balls and splash about in the bath and make as much mess as they want on the rhizome-riddled earth. The area is sheltered by the smoke tree and bushes to allow small birds to make a quick exit if the sparrowhawk flies past.

As a thank you, the birds have left us some beautiful flowers this year from other gardens, such as this love-in-a-mist. Birds are very good gardeners.

Life is always very busy in the garden.

After the bamboo was cut down, several thistles sprung up in its place. John and I kept the largest thistle next to the fence for the sweat bees. It has been a popular breakfast bar.

On the gravel patch, I planned to plant mini-wildflower meadows in pots but the garden had other ideas. This summer’s surprise is the butterfly-and-caterpillar habitat that has sprung up in the form of a toadflax meadow.

The carder bees also buzz around the purple flowers all day long – toadflax is a rewarding plant for wildlife.

While my mason bees that I ordered earlier in spring fell victim to the backwinter and an army of ants, a single local mason bee found the insect hotel when the weather warmed up again. She worked very hard for almost a month to fill as many tubes as possible with her eggs and food for her larvae.

The mason bee was too busy to keep up with her housework this year and often left piles of yellow pollen outside her front door.

Sometimes she had a lie-in on a Sunday morning.

I last saw our mason bee resting on the fence, her exhausted and bedraggled body fit to drop, and then she was gone. A fortnight later, I realised that she wasn’t coming back and that three of the tubes were only partly finished. So I completed her work by making mud plugs myself and hoped for the best for next spring.

The leafcutters moved in next and have been busy filling up the remaining tubes.

Another resident has been watching their progress with interest.

As far as I can tell, he has not caused any mischief and so has not been evicted.

The ants made up for their earlier destruction of my mason bee cocoons by allowing me to watch this year’s queens fly away to start new nests. They didn’t fly very far it seemed and probably we will have more ant nests on the lawn again.

The honeybees returned after the June gap for their annual crop of a flowering shrub around the fir tree. As a beekeeper, I have an interest in planting a garden that is pleasing to bees. This summer, the salvia and scabiosa have been the clear winners, probably because they have flourished and grown rapidly in the sun. The honeybees have also discovered the lemon balm which is in flower and a few bumble bees have opted for the more traditional choice of our lavender bush.

The scabiosa has been busy entertaining bee and hoverfly visitors all day long. This carder bee can’t wait to get in on the action.

I’m also delighted that our myrtle tree is in flower for the first time since it was planted in the garden, although it has not yet produced enough flowers to delight the pollinators.

Of course, it’s not all about the birds and the bees. On occasion, we have human visitors too.

My mum and stepdad enjoying Sunday lunch in the garden yesterday.

They provide something interesting for the fish to look at.

Life in the garden is precarious and it can all change as quickly as it came. Already the plants seem too far ahead of the season and the blackberries are beginning to ripen over the fence. I have found a new hobby in collecting my own seeds and cuttings to grow more of the plants and flowers that the wildlife in our garden loves most. Bluebell bulbs can be divided and planted under the smoke tree in autumn, seeds are being collected from the salvia and seedheads from the scabiosa to provide more forage for next year’s bees, and the toadflax and rose campion ‘alba’ are being encouraged to sprout everywhere for next year’s butterflies.

This week on BBC begins The British Garden: Life and Death on Your Lawn looking at how well British gardens support wildlife. From the frog ponds in the shady flower beds to the compost bins and piles of logs and leaves, I like to think that our garden supports a lot of wildlife and that there is still much more to discover beyond our back door.


Don’t put all your eggs in one basket

What the bees did

“The bees don’t listen, do they?” said Jonesy. John Chapple and I nodded in agreement.

Alan had put on the kettle to make tea as we sat under the shade at the apiary table and shared stories about misbehaving bees.

Last weekend, it was a gloriously hot and sunny Saturday afternoon and the nectar, as well as the conversation, was in full flow. Emily and I had inspected our three hives and found that the honeybees were not wasting a second of the good weather either.

We had arrived at noon before the other beekeepers to carry out a thorough inspection of a suspected queenless colony. The queen was last seen three weeks ago by myself and Jochen. She was big, orange and beautiful. But she had since failed to lay a single egg and the colony was dwindling without brood or stores.

Eggs can be tricky to see on the comb until you know what you’re looking for – one tiny grain of ‘rice’ sticking up from the middle of a cell. Here I’ve ringed two eggs laid by Queen Angelica.

TIP: I have since learned from anecdotal sources that a virgin queen can be large rather than small and so appear to be mated, or, of course, a mated queen may look big and beautiful but may not have mated well. The only proof of a successfully mated queen is seeing eggs, larvae and worker-brood on the frames. Thanks to the Women in Beekeeping Facebook Group for that tip!

While waiting for her majesty to settle into her egg-laying duties (which can sometimes take a few weeks depending on the conditions inside and outside the hive), Emily and I had reduced the colony to one hive box by encouraging the bees to rob out the super above and take the honey down below. This would make it easier to search for a missing queen or to combine the hive, if it truly was queenless, with a queen-right colony.

Going through the frames, there was no sign of a queen or eggs and we were about to reach for the newspaper to unite colonies when at the eleventh hour (or the tenth frame) Emily spotted a queen. She was not the giant orange beauty but a smaller, darker queen, and as I held up the frame we watched her release an egg from her ovipositor and carefully deposit it into a cell, surrounded by a retinue of attentive workers.

After so many years of keeping bees, it is still a sight to see the queen in action. And with no other eggs seen inside the hive, perhaps we had watched her lay the first egg.

I also never get tired of seeing a bee emerge from her cell by chewing away the wax capping. 

What happened to the orange queen? I had put a frame with four or five queen cells (two looked particularly promising) into the hive on the weekend of the first May bank holiday. This was an attempt to requeen the colony after the old queen, Patience, had disappeared without leaving behind any daughters. Had more than one queen emerged? Perhaps this dark mystery queen had killed her sister for the throne?

Or did the orange beauty get eaten by a bird or fly into a spider’s web on her mating flight, (a queen’s mating flight can be a perilous journey), or even fly away in a cast-off swarm? We’ll never know.

The hive was not out of the woods. The new queen and her old workers faced the huge task of rebuilding the nest. So Emily and I put in a frame from our stronger colony and refilled the syrup feeder above the crownboard.

John arrived as we closed up. He had a surprise to show us.

A wasp queen and her workers had also been busy nest building and their creation was a work of art. I’m not sure if this is a paper wasp nest or a wood wasp. Does anyone know?

What we named the queens

A heatwave was about to hit London (this time last week) and I hoped that the foragers would fly home with stomachs full of nectar and baskets heavy with pollen for all three queens and their colonies.

Emily and I name our queens after essential oils – partly because I’m an aromatherapist and had started this tradition with my first hive, and partly because of the intricate relationship that exists between the honeybee and these vital essences of flowers.

The queen of our largest hive – an amber-and-black striped amazon – is named after the essential oil of everlasting, because she comes from such a long line of queens. The queen of the nuc hive – who has a long dark tail with orange–brown flecks – is named after the essential oil of angelica, which reflects the angelic nature of our bees. And the newest queen – who is small and dark – is called Rose-Jasmine (RJ) as these were the names of Emily and my first queens respectively at around the time that we became hive partners in 2011.

I’ve added the new queens to our honeybee-family tree:

What the bees did next

When the hottest day for forty years arrived on Wednesday (sounds biblical doesn’t it) and temperatures in London soared to almost 35°C, I went to the apiary to put a super on Everlasting’s hive and to transfer Angelica’s colony from the polynuc to a full-size hive. This was to give the bees more space and to stop them from having ideas about swarming.

On Saturday I was eager to open up the hives and find out what the bees had done during the heatwave. Everlasting and Angelica were building up their brood nests nicely. Rose-Jasmine did not show herself again and disappointingly had not laid any more eggs. Had yet another queen failed for this unlucky colony?

Emily and I looked at the signs. The workers had drawn out honeycomb on a new frame and were forming strings of wax builders, polishing out cells, bringing home pollen and glistening nectar, and behaving calmly and purposefully – all of which suggests that a queen was present and keeping the colony working as a whole. There were no signs of laying workers, which might have suggested that the queen was gone.

When the workers prepare to swarm, they starve the queen to make her skinny to fly and to slow down her egg-laying. Perhaps something similar was happening here. The workers were not preparing to swarm, but they had not brought home much nectar and the queen might be simply too hungry to lay eggs.

We decided to give the colony one more chance by feeding it as much as possible for the next two weeks to see if this will stimulate the queen to lay. If she doesn’t produce the goods, then she may lose her throne. We’ll have to wait and see.

The queen drama in June reminded me that the bees never put all their eggs in one basket. The workers may build up to sixteen queen cells to make a new queen even though the colony needs only one. To make life you need a lot of chances.

Queen Hope left behind at least two daughters who have proven to be good egg-layers for their colonies. Here is Everlasting with her long beautiful orange tail and black markings – I think she has the looks of her great, great, great, great grandmother Neroli.

This is something that particularly hits home for me. In the past twelve months, my husband and I have had two failed IVF cycles and the loss that comes with it. It can take some time to move on from that.

That is why I felt a pang at the idea of taking down any of the queen cells in May, and instead used them to requeen the queenless colony and to create a split colony in the nuc. It is a pleasure to see that all three colonies did produce a queen and that two, at least, are alive and laying. And as ever, it feels like a privilege that the bees tolerate and allow me to be a part of their world.

That done, Emily and I helped John Chapple to take off some honey from his hives and then we all had a well-deserved sit down and a slice of cake at the apiary table. You can read about the cake in my previous post, in which Stan did the honours of cutting it with a hive tool.

Tom was giving a beginners session on queen-rearing by showing the beginners how to graft young larvae onto starter cells. Yet more queen drama about to begin at Ealing apiary!

Last weekend, my husband John discovered a butterfly meadow just around the corner from where we live and took me to see it as a surprise. I’ve never seen so many butterflies. So you see, you never know what lies around the corner in life and that’s why it’s a good idea to enjoy the sunshine while it lasts.

This weekend rain is forecast for the week ahead and to be honest it is needed for the trees and flowers to continue producing nectar for the bees, butterflies and other pollinators. After that, the sun is welcome to come again.

Lucky

buttefly-smile

It has been trying hard to snow. The grey sky sends down light showers of snowflakes that dissolve as they reach the ground. Nothing settles.

My husband and I had a loss over Christmas and New Year. In some ways it has made me grateful for January, which is often a good time of the year to stay indoors and away from the rest of the world. But the cold is often bitterest when spring is around the corner and then I will have to go outside again. The bees will be starting up, the pond will need cleaning, and the birds have already begun to nest.

I was pottering in the kitchen the other day when for some reason I remembered that something had been missing. A butterfly nursery had sat on the kitchen work surface late last summer. I never had the opportunity to raise butterflies when I was younger and had thought why not now?

The caterpillars had arrived in a small cardboard box through the post in August. There were five caterpillars in a plastic cup with a layer of food at the bottom. The instructions were quite simple: keep the caterpillars at a temperature of 21–23°C and wrap the cup in a blanket at night to stay warm. All being well, the caterpillars should become chrysalides within 7–14 days. A two-week wait.

blanket

I kept my cup of caterpillars in a warm spot near a sunny window during the day. At night the cup was wrapped in a woolly scarf and placed in a small basket. Everything worked as it should. The caterpillars ate their food, got fatter and dutifully climbed to the top of the cup. They hung from the lid in a J-shape, shed their exoskeletons and hardened into chrysalides.

After three days the chrysalides were no longer moving. It was time to move them to the hatching habitat – a larger netted enclosure where the butterflies would spend their first few days. While I was moving them into their new home, I took a photo of the delicate golden-tipped chrysalides. This one wins the prize for caterpillar beauty pageant.

gold-tips-small

The transformation didn’t take very long and one morning I found that my painted lady butterflies had emerged overnight. I fed them sugar water and fruit and allowed them to settle for a day before releasing them into the garden.

It was a hot sunny day when the butterflies flew away. That was just over six months ago and we had had a loss around that time too. All the butterflies were eager to stretch their wings and explore the buddleia I had planted in the garden. All but one butterfly remained. This butterfly’s wing had been broken when it had emerged from its chrysalis and it would never fly.

The instructions said that if a butterfly was damaged it was best to put it in a spot in the garden and let nature do the rest. I felt sorry for the butterfly – it wasn’t its fault that it couldn’t fly and surely it deserved a bit more life. So I put it back inside the habitat and returned it to the kitchen work surface.

lucky-feeding

Lucky – I didn’t know whether the butterfly was a male or female, let’s say it was a male – lived for about five weeks in the habitat. I bought some pot plants for him to climb on and hide within the foliage, and fed sugar water and fruit each day. His favourite treat was a fresh cluster of orange-ball buddleia from which he would meticulously suck up the nectar of every single flower. On occasion he was content to sit on my hand and lick up the sugar syrup.

On a warm day I put the habitat outside by the myrtle tree and lavender bush. Lucky would come out from within the foliage almost immediately and climb to the top of a plant. He then sat there quietly and watched the world go by.

butterfly-foliage-small

All this effort for a little butterfly might seem quite strange to some people, but it was nice to have something to nurture. I felt quite sorry when one day Lucky sat at the bottom of his habitat and didn’t move again. In some ways he didn’t have a very lucky start in life, but I hope he was luckier than most broken-winged butterflies.

In a couple of months the garden will start to blossom. I wonder if last year’s butterflies laid any eggs beneath the ivy leaves and whether we will see more painted ladies flying about.

butterfly-flight

A beekeeper’s notes for June: secrets inside the hive

IMG_8070

“Quick! Take the egg!” whispered the worker to her younger sister. “Hide the new princess in the upper chamber where the queen won’t find her!” The young worker gently picked up the precious egg in her mandibles and ran as fast as she could past the queen’s retinue, and up the stairs where her majesty couldn’t follow. Higher and higher she climbed till she stopped with exhaustion beneath a special cell. The smells of nectar in the loftiest chamber were overwhelming and the scent of the queen seemed far away. 

The young worker placed the egg carefully inside the secret cell already prepared to receive the new princess. The egg would be safe from the queen who would be unable to get through the nectary gates and tear down the hidden queen cell.

The longest day of the year had passed on the summer solstice last Sunday. At the apiary talk had turned to the honey crop and how much could be harvested this year. Emily and I had put two supers on Queen Melissa’s hive, which were filling up nicely. “Let’s check the super frames to see which can be taken,” I said going through the top super. Around the fifth frame in, I found her. A tiny, coiled, pearly larva in a silky white bed of royal jelly at the bottom of a damaged queen cell. Emily and I stared at her curiously wondering how the queen larva had got into the top super. The queen excluder was above the brood chamber and, we hoped, the queen had not gotten past to start laying in the supers.

IMG_8133

The queen cell looked partly torn away and whether that had happened when I pulled out the tightly fitted super frame or by a worker tearing down the cell, we could not tell. We marked the frame and carefully put it back for a further investigation of the hive.

I didn’t find any brood or further queen cells in the supers, but I did find several collections of pollen-packed cells, which is unusual. It seemed the workers were preparing to raise a special brood in the top super, and though the workers can move eggs, nectar and pollen around the hive this seemed a long way to carry an egg from the brood chamber. “Perhaps they heard us saying that we wanted to try queen rearing,” I joked to Emily.

A beginner beekeeper, Mark, was watching our discovery with interest and asked why the workers would hide the queen cell. “To keep it a secret from us,” I said, “Or more likely the queen who would tear it down.”

IMG_8124

Then it was time to go through the brood nest. Here there were only stores and brood, but no queen cells. Emily spotted the queen as I held up a frame, so I caged and marked her with a pink marking pen from Pat.

We closed up the hive. With only one queen cell hidden in the super, and now appearing partly damaged, this seemed a case of attempted supersedure rather than swarm. Emily and I have always let our bees get on with supersedure in the past, the workers know best when to replace a queen. Melissa and her hive were left to their royal secrets until next week.

In the artificially swarmed colony the still unnamed queen was also found and marked by Emily. Two queens now wear pretty pink crowns thanks to Pat’s pink queen-marking pen from Thornes. I wish they would make a glitter pen too.

Emily is mentoring new beekeepers for the London Beekeepers Association (LBKA) and had already checked Queen Pepper’s hive with Mark. This left us time for tea and cake (Polish cake from Clare and home-made ginger cake from Emily) and a casual visit to Den’s hive.

IMG_8125

Den was puzzled about why his bees were making waves of honeycomb above the frames. This was ‘bee space‘, we explained. There was a gap, more than 8mm, between the top bars and the top of the box. The bees would fill up any gap bigger than 8-9mm with honeycomb. The importance of bee space demonstrated and lessons were almost done for the day.

From the apiary to the garden there were fewer butterflies than bees, and I was hoping to attract more winged visitors to our flower beds. A butterfly supper of brown mashed banana on a plate and sugar syrup in a jar was prepared. These were simple to make and, I thought, an ideal activity if you’re entertaining young nieces…

How to make a butterfly supper

(null)_1

You will need: 

  • Plastic plate
  • String
  • Over-ripe brown banana
  • Decorative flowers

1. Pierce four holes in the plastic plate to pull through the string and tie handles on either side.

(null)_2

2. Stick on plastic flowers to make the plate look pretty for butterflies.

(null)_3

3. Mash a brown banana that butterflies love.

IMG_8129

How to make a butterfly sugar feeder

(null)_5

You will need: 

  • Jam jar
  • String
  • Sugar syrup

1. Mix one part sugar to four parts water to make sugar syrup.

(null)_6

2. Pierce a hole in the jam jar lid and poke through a brightly coloured kitchen cloth.

3. Pour the sugar syrup in the jar and screw on the lid so the cloth can absorb the syrup.

IMG_8128

4. Secure with garden string and/or elastic bands to hang upside down.

The butterfly feeding stations were hung up high in the flowering bush that is busy with bees. We’ve had no customers yet, but I’m hopeful.

So the bees don’t feel neglected in the garden, my niece had a bright idea a couple of weekends ago. She asked me to pick one of each flower to put on a saucer. We then drizzled the flowers in honey. “This is a bee bed,” she said proudly putting her creation on the flower bed wall. “For tired bees.”

IMG_8139

edit: my story of the worker moving the egg is anecdotal (see comments below) and pure guesswork as I can’t know for certain how a suitable egg got into the super for the bees to try and make a queen. Moving eggs is one theory I’ve heard over the years, laying workers is a possibility though these eggs would become drone not queens, or a small queen able to slip through the excluder after all or even a second queen in the hive still unseen…